Bugs, exhaust & oil stains
Work contamination wet, remove loose grit first, and separate removable residue from finish damage before escalating friction.
Aircraft surfaces combine demanding environments, high visibility, repeated contamination, and strict material considerations. Good aircraft detailing begins with identifying both the contaminant and the substrate before choosing chemistry or friction.
Use the hub to move directly from the symptom or material to the appropriate process. Cleaning, correction, transparency care, and final protection are separate decisions.
Work contamination wet, remove loose grit first, and separate removable residue from finish damage before escalating friction.
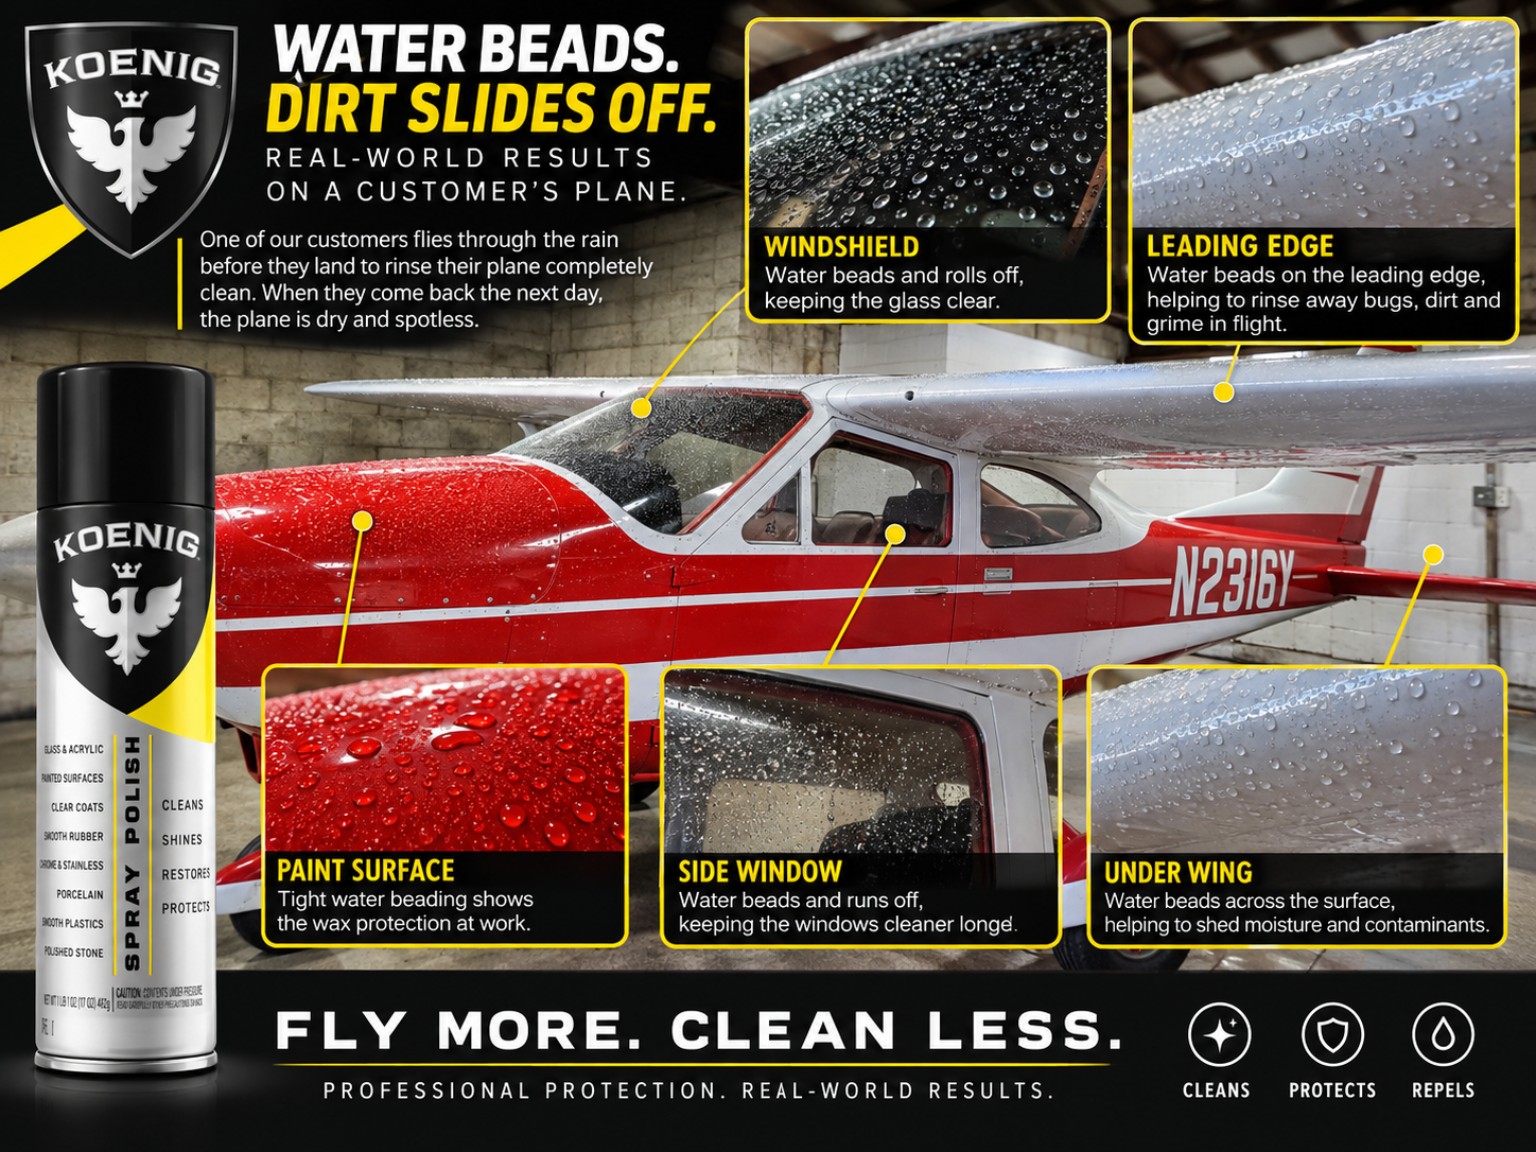
Use Koenig as the finishing polish and protection step after the surface has been cleaned, evaluated, and prepared.
Identify the transparency material first, then use a conservative, scratch-aware cleaning and polishing process on compatible aircraft acrylic.
Distinguish removable residue from oxidation, corrosion, staining, transfer, and defects that require a separate correction decision.
Bug residue can dry onto painted leading edges and other forward-facing surfaces. Repeated aggressive scrubbing can create its own defects, so dwell, lubrication, and controlled mechanical action matter.
Exhaust deposits, oil-related films, and grime can build into complex contamination that may need a different approach from ordinary dust or wash residue.
Outdoor storage, ramp exposure, airborne particles, minerals, rain residue, and other fallout can remain bonded even after a routine wash.
Age, prior correction, repaint history, oxidation, and existing protection can all change how a finish responds to cleaning and polishing.
Metal surfaces require material-specific care. Oxidation, staining, and polishing marks should not be treated as if they were painted surfaces.
Acrylic and other aircraft transparencies can be particularly sensitive to incompatible cleaners, solvents, and abrasion. Manufacturer guidance takes priority.
The safest effective process is usually staged.
Begin by removing loose contamination. Then determine what remains bonded. Only after the surface condition is understood should more aggressive decontamination or correction be considered. Protection belongs at the end of that sequence, not as a substitute for preparation.
For aviation surfaces, material compatibility and aircraft or component manufacturer restrictions should be checked before using a chemical or abrasive process on an unfamiliar finish or transparency.
Does bug residue, grime, or environmental fallout release more easily during subsequent maintenance?
Track gloss, clarity, residue, streaking, and visible uniformity rather than relying on a single subjective impression.
Beading and roll-off can document a change in the outer surface, but they should be considered alongside cleaning ease and durability.
Repeat observations after washing and exposure. A treatment that looks impressive on day one still has to survive maintenance and environment.
Time, residue removal, working area, and ease of use matter on large aircraft surfaces.
Watch for haze, staining, softening, gloss change, or other signs that a process is not compatible with the substrate.
Koenig’s history in aviation makes aircraft contamination, preparation, and maintenance an important Surface Lab focus. Planned testing includes bug residue, exhaust-related contamination, environmental fallout, cleaning effort, water behavior, gloss, and wash-cycle durability on appropriate representative surfaces.
Read the aircraft bug-residue guide → See aircraft polish and protection See the testing protocol →