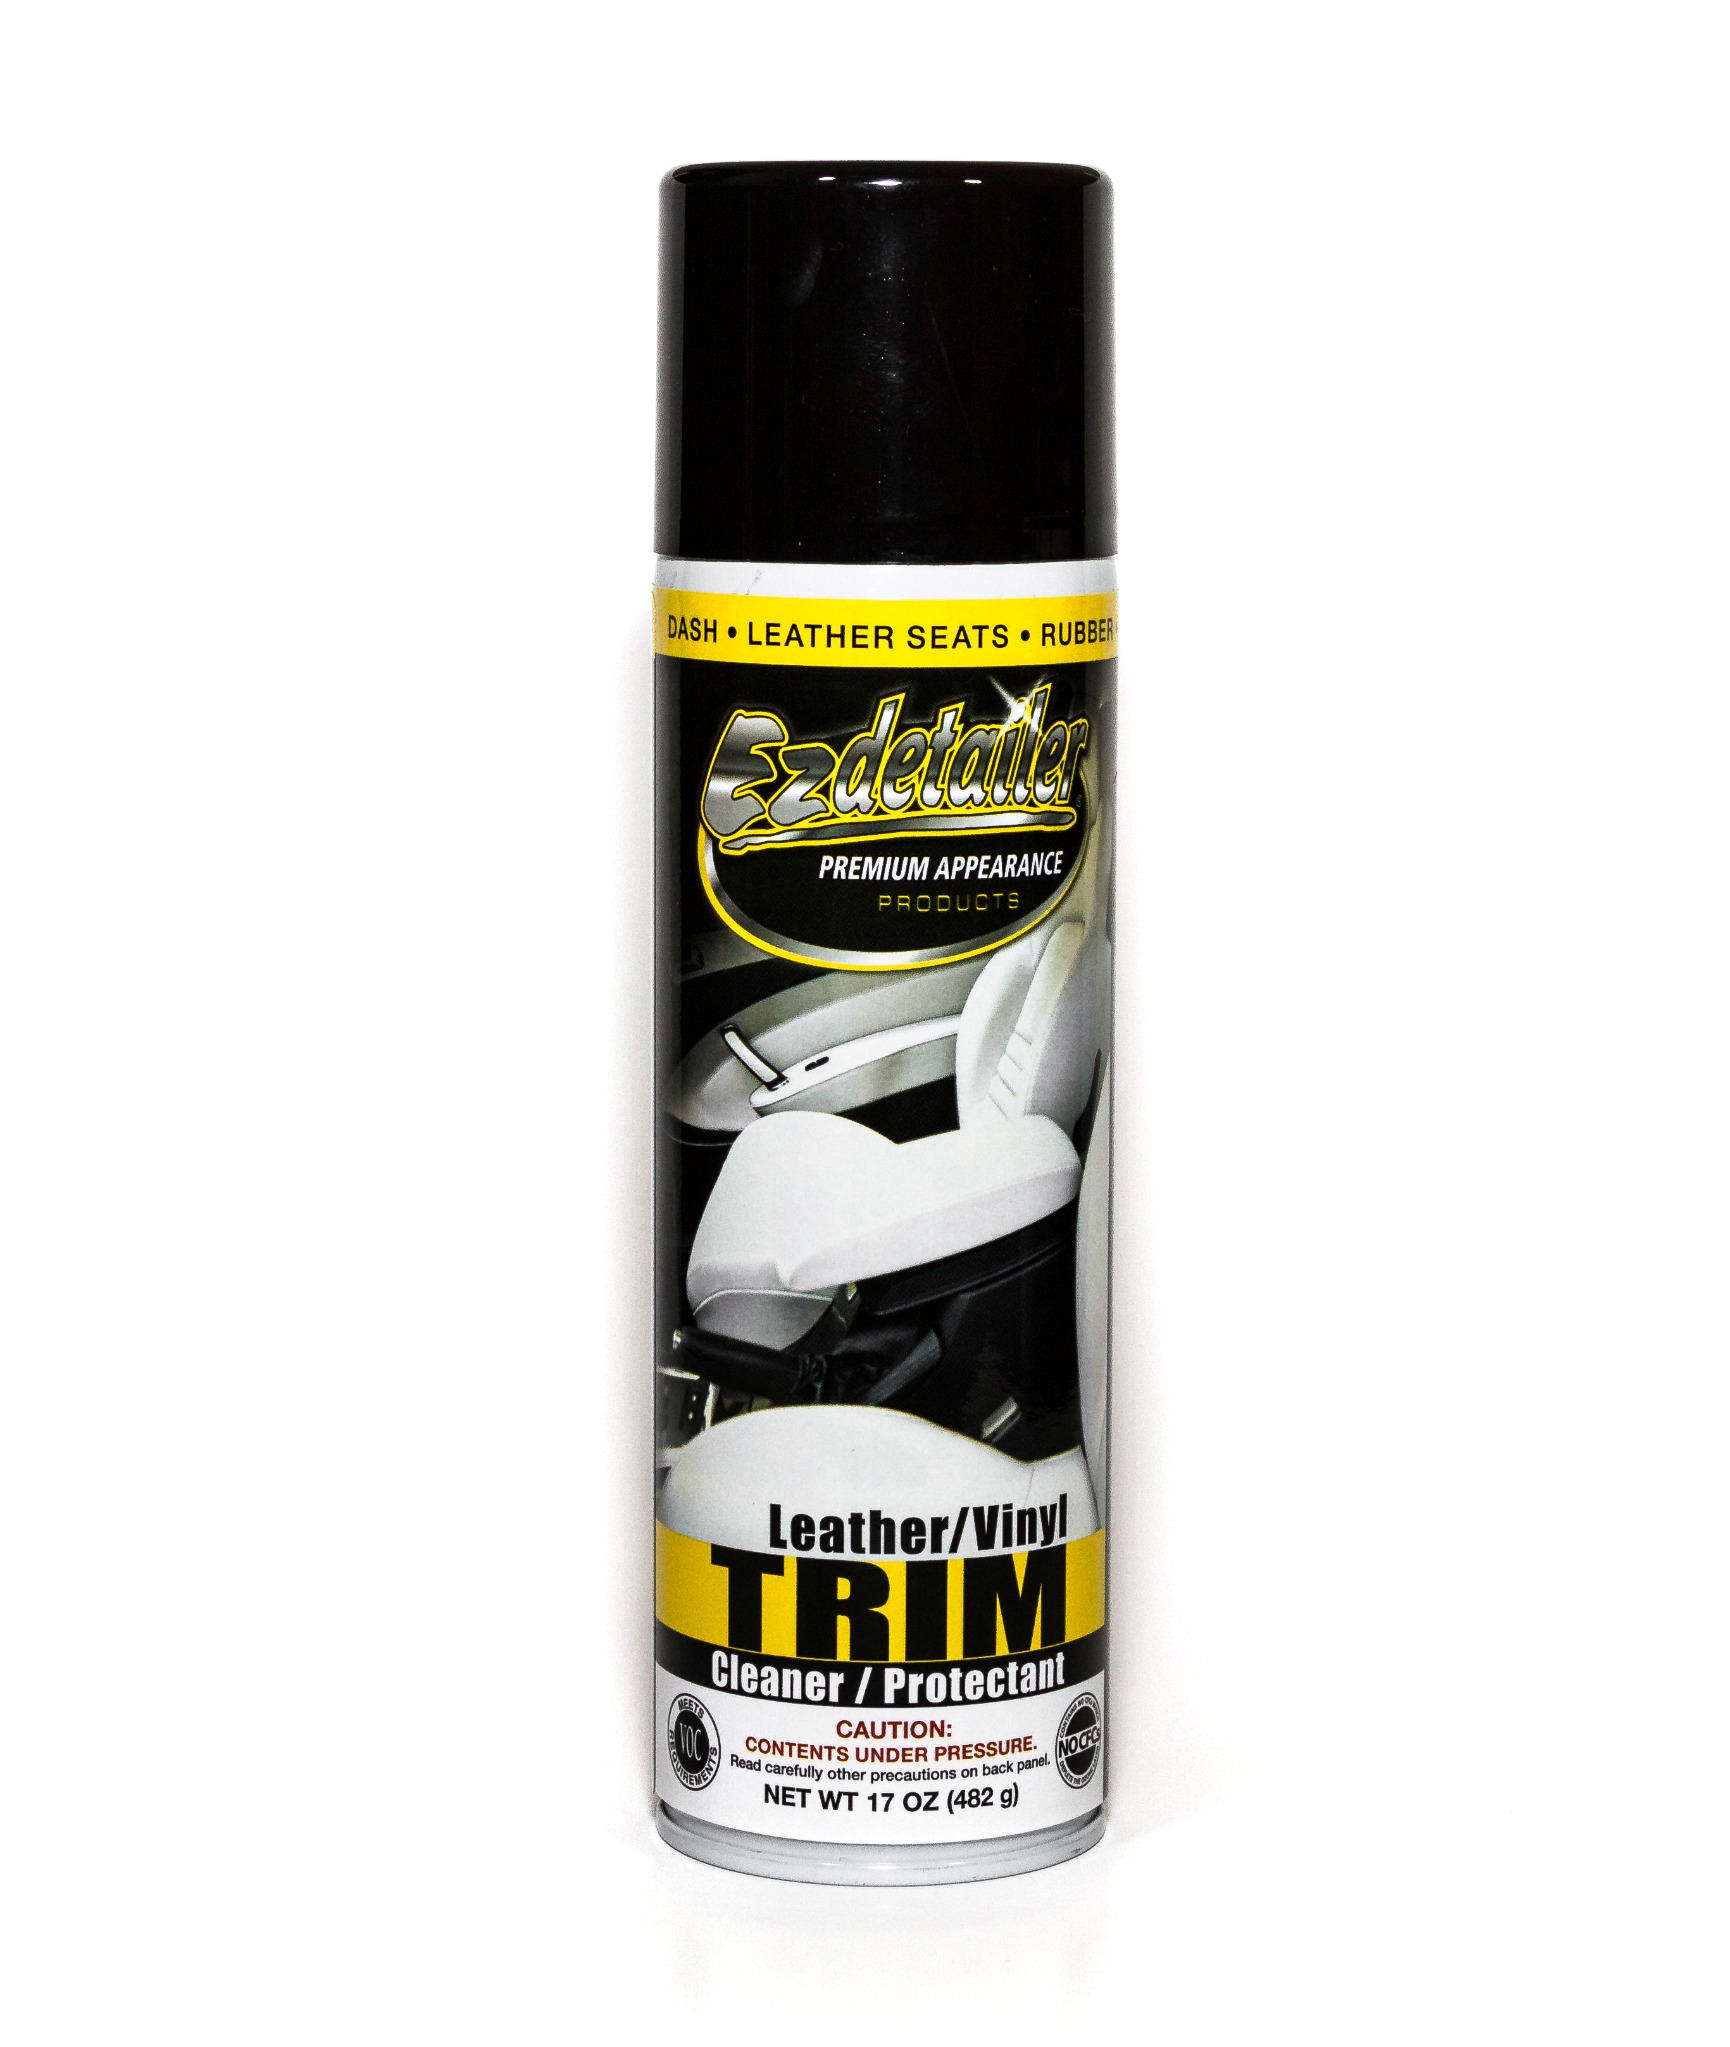
Routine cleaning, dry-looking shine, and protection on compatible leather, vinyl, plastic, rubber, and trim surfaces.
Leather & Vinyl Surface Care
Leather & Vinyl Cleaner & Protectant for Interior and Trim Surfaces
Use a material-first process for routine cleaning, dry-looking shine, and protection on compatible leather, vinyl, plastic, rubber, and trim. Coated leather, vinyl upholstery, soft-touch trim, and specialty finishes should not all be treated as the same surface.
Quick answer
Leather and vinyl care at a glance
Identify the material, coating, texture, and finish before applying a cleaner or protectant.
Deep stains, dye transfer, cracking, peeling, sticky degradation, or unknown specialty finishes need a different restoration path.
Diagnose before you treat
Know the material before you clean.
Leather, vinyl, plastic, rubber, and trim can look similar while using different coatings, textures, dyes, and construction. Identify the actual material and finish before deciding how to clean or protect it.
Coated automotive leather
Many automotive leather surfaces have a protective finish. Remove loose debris first, test a small area, and avoid assuming that a product should soak into the material.
Vinyl upholstery and trim
Check for texture, perforation, sheen, and coating differences. Avoid oversaturating seams or openings and remove excess product after application.
Plastic, rubber, and textured trim
Hard plastic, rubber, textured trim, and soft-touch coatings can react differently. Preserve the intended finish rather than forcing a higher-gloss appearance.
Specialty, matte, perforated, or dyed finishes
Manufacturer instructions and a compatibility test should override generic care advice when the material is specialty, repaired, recolored, matte, perforated, or otherwise uncertain.
Common Leather & Vinyl Problems
Match the process to the soil, finish, or defect.
Light grime and body oils
Remove loose debris first, then use a controlled wipe process rather than repeatedly adding more product to the surface.
Fingerprints and light residue
Use a small amount of product and clean microfiber to restore a more uniform appearance without leaving excess residue behind.
Dull or tired-looking vinyl
Refresh compatible vinyl conservatively and preserve the intended finish instead of assuming every surface should become glossy.
Light surface staining
Start with the least aggressive compatible process and stop if the mark appears to be dye transfer, coating damage, or a deeper material defect.
Dusty or chalky trim
Remove loose dust first, identify the trim material, then test a controlled application before treating a larger area.
Cracking, peeling, or sticky degradation
Stop routine maintenance and move to diagnosis or restoration instead of increasing product, pressure, or repeated wiping.
Recommended procedure
A conservative leather, vinyl, and trim care process.
The safest workflow removes abrasive debris first, identifies the material and finish, tests compatibility, then uses the least aggressive process that solves the routine care problem.
Work on a cool, dry surface
Move out of direct sun when possible and allow hot interior or trim surfaces to cool before application.
Remove loose dust and debris first
Vacuum, brush, or wipe away loose abrasive debris before using a care product. Do not grind grit into leather, vinyl, plastic, or trim.
Identify the material and test a small area
Confirm whether the surface is coated leather, vinyl, plastic, rubber, soft-touch trim, or another specialty finish, then test an inconspicuous area.
Apply a light amount to a cloth or applicator
Use a controlled amount rather than saturating the surface, especially around seams, perforations, stitching, switches, and textured areas.
Wipe evenly and remove excess
Use a clean microfiber towel and controlled pressure. Inspect the finish before adding more product or expanding to a larger area.
Stop and escalate when the material is damaged
Cracking, peeling, deep dye transfer, sticky degradation, severe staining, or coating failure are not routine maintenance problems.
Material Boundaries
The material and finish can override a general care process.
Use extra caution with untreated or aniline leather, suede, nubuck, matte or soft-touch finishes, perforated surfaces, repaired or recolored material, peeling coatings, sticky degradation, and any surface with manufacturer-specific care instructions.
A product that performs acceptably on one leather, vinyl, plastic, or trim surface should not automatically be carried onto the next material simply because the surfaces are adjacent.
If the surface is unknown, identify it before continuing. Surface Science explains why material, contamination, finish condition, and preparation change the treatment boundary.
Surface-Care Framework
Where the material-first surface-care framework fits.
Koenig Surface Lab uses a material-first framework: remove loose contamination, identify the actual surface and finish, test compatibility, and use a controlled maintenance process rather than treating every material the same way.
This Leather/Vinyl page does not claim that routine surface care moisturizes, softens, rebuilds, or structurally restores leather. Damaged or specialty materials need diagnosis and a material-specific restoration path.
Product fit
Where this Leather & Vinyl process fits.
Use the product as part of a material-aware maintenance process, not as permission to treat every leather, vinyl, plastic, rubber, or trim surface the same way.
Routine interior and trim maintenance
A good fit when compatible leather, vinyl, plastic, rubber, or trim needs light cleaning, appearance refresh, and protection.
Prepared compatible surfaces
Useful after loose contamination has been removed, the material has been identified, and a small test area confirms acceptable appearance and feel.
Compatibility first
Do not assume one process fits coated leather, raw leather, matte trim, soft-touch coatings, perforated surfaces, dyed surfaces, or specialty materials. Manufacturer-specific care guidance takes priority.
Leather & Vinyl FAQ
Common questions about leather, vinyl, and trim care.
Can the same cleaner be used on leather and vinyl?
Only after confirming the specific material and finish are compatible. Coated automotive leather, vinyl upholstery, soft-touch trim, and specialty finishes can behave differently, so test a small inconspicuous area first.
Is this a leather conditioner?
This page positions the product for cleaning, dry-looking shine, and protection. It is not being presented here as a leather moisturizer, softener, or restorative conditioning treatment.
Can I use it on car vinyl and plastic trim?
Use it only on compatible surfaces after identifying the finish and testing a small area. Matte, soft-touch, textured, coated, or specialty trim may require different care.
Should I test coated leather first?
Yes. Test an inconspicuous area before broader use and stop if the surface changes color, gloss, texture, feel, or appearance unexpectedly.
What surfaces should I avoid?
Do not assume suitability for suede, nubuck, untreated or aniline leather, unknown specialty coatings, damaged surfaces, or any material whose manufacturer requires a different care method.
What if the leather is cracked, peeling, or deeply stained?
Move from routine maintenance to diagnosis and restoration. Cracking, peeling, deep dye transfer, severe staining, and coating failure need a process matched to the actual material and defect.
Related problems and next steps